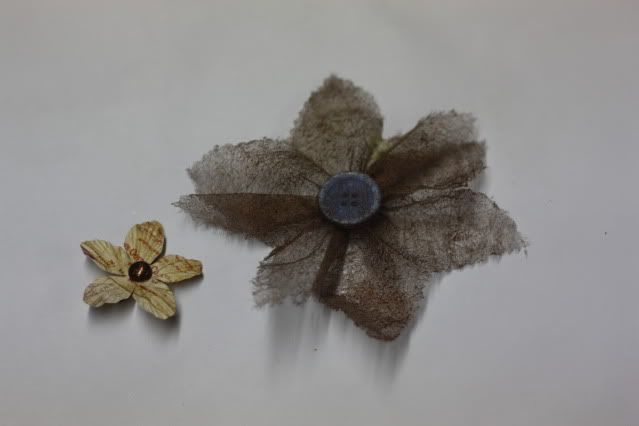
Thursday, April 29, 2010

Dryer Sheet Flowers

Dryer Sheet Flowers

I have seen the tutorial somewhere on one of the forums, but didn't get to look at it close enough to see how they were made. I decided to play around and I made my own version (kinda sorta...someone else may have already done this same thing...but oh well...I'm claiming it for now ;) ) of the used dryer sheet flowers! Here is what you will need to get started.

Image
Dryer sheets, preferably ones you have already used ;)
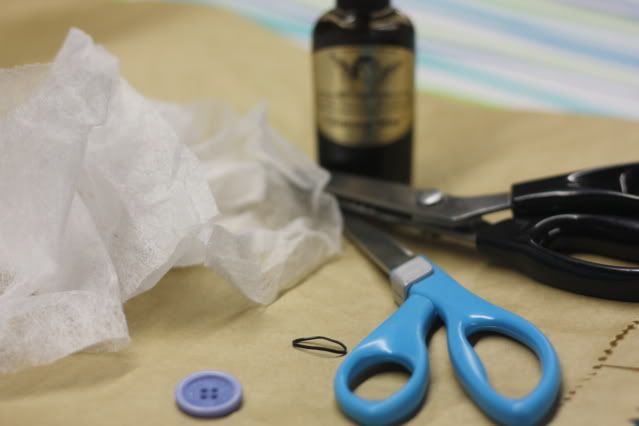
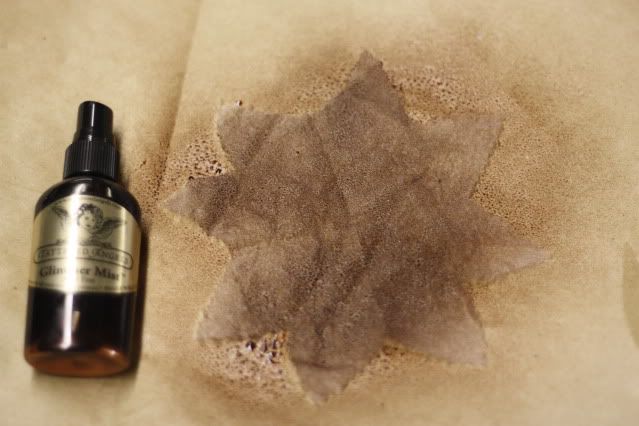
Some spray mist or paint mixed with water, whatever you have on hand
scissors
decorative edge scissors or pinking shears
a button
a small rubberband (I like to get the small ones from the dollar store that you use for toddler ponytails, about the size of rubberbands for braces)
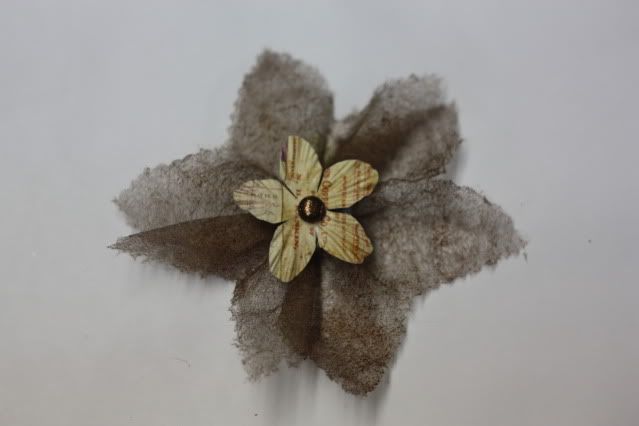
decorative flowers, brads or 3-d stickers(optional)

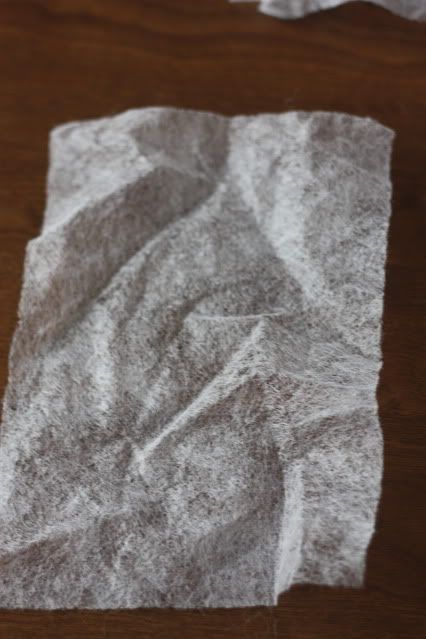
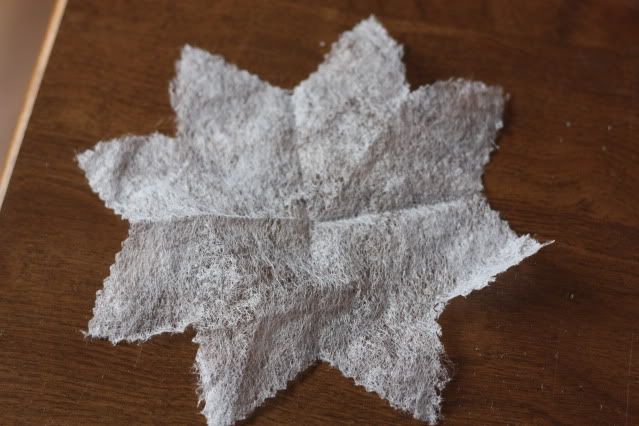
Your first step is to take one sheet and spread it out flat.
Image

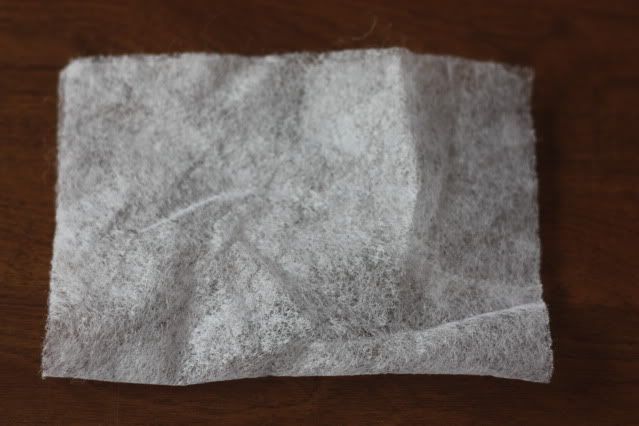
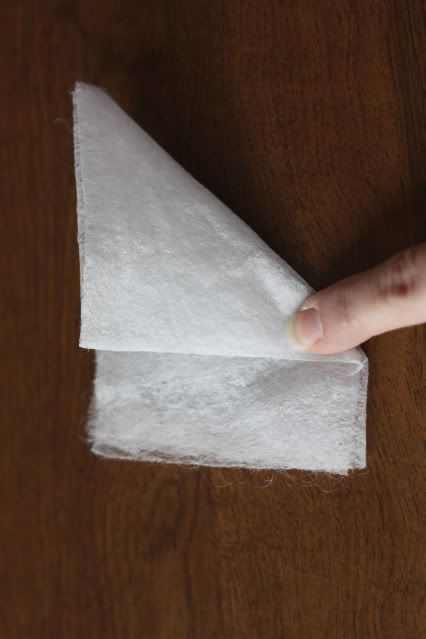
Next you want to fold it in half
Image

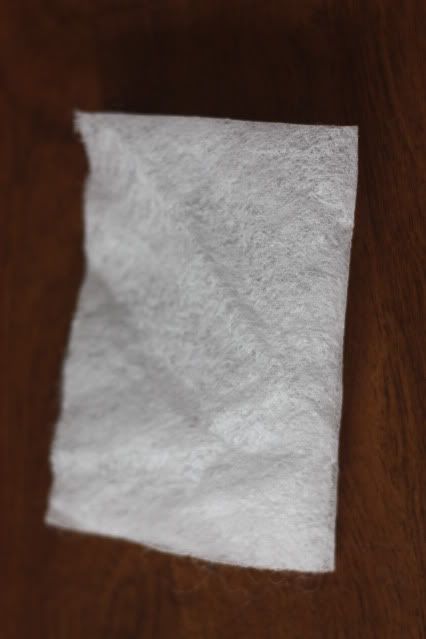
And then in half again.
Image

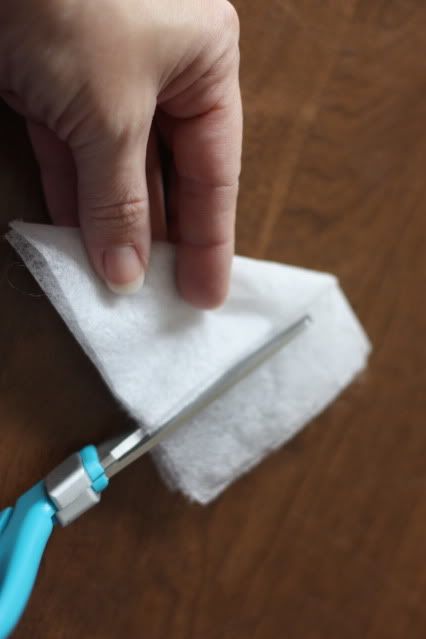
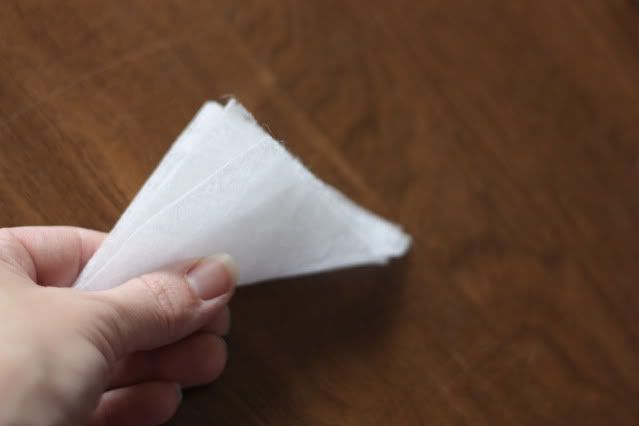
Now take one corner and fold over leaving the small amount at the end.
Image

You will cut this off to make your fold a perfect square instead of rectangle, if you were to open it up.
Image

Image
While you have it folded into this triangle, hold it so that the folded sides are down and the open sides are facing up. You will use your decorative scissors or pinking shears to cut off each corner giving it the shape of a kite.
Image

Image

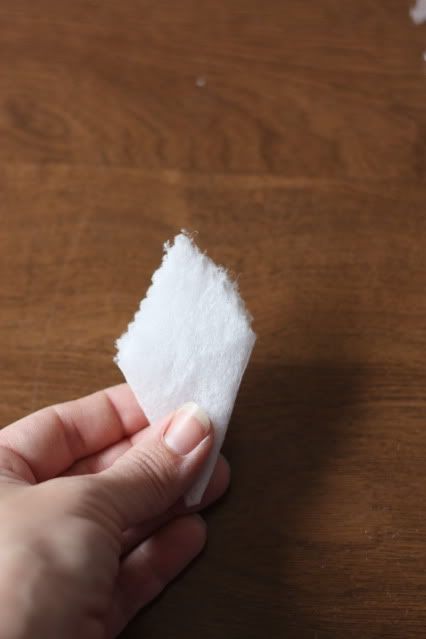
Now open it up and it looks like a star.
Image

Spray it down and then let it dry. (or if you are impatient like me, you can use a heat gun to help it dry faster or blot it with a paper towel)
Image

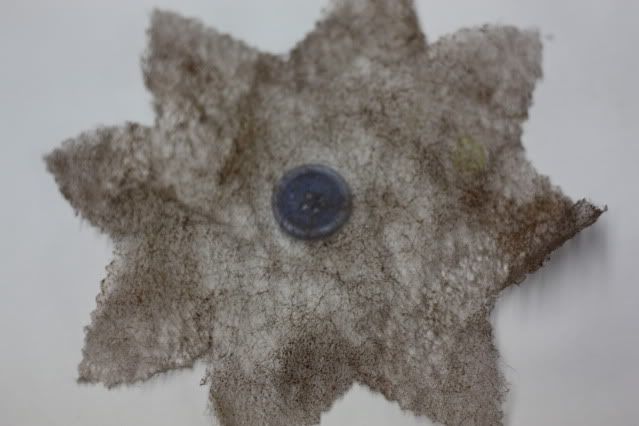
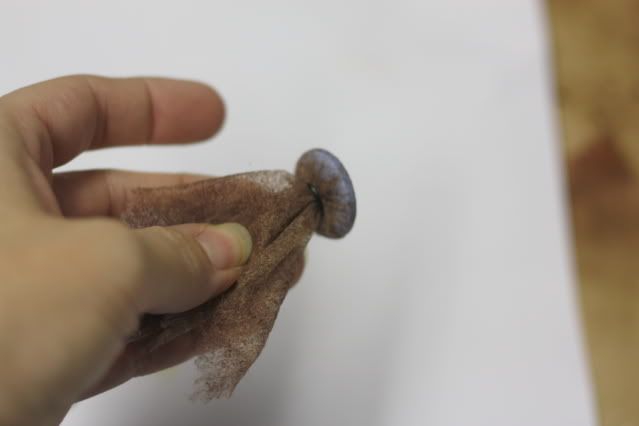
Now, take your button and lay it underneath in the center of your star shape.
Image

Grab all the sides and pull them tight underneath the button.
Image

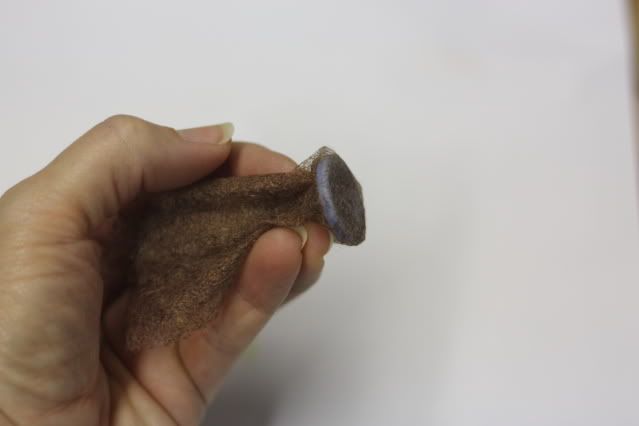
Use your small rubberband and put it around the button a couple of times. Not too tight.
Image

Now spread out the edges again and there you have the basic flower shape.
Image

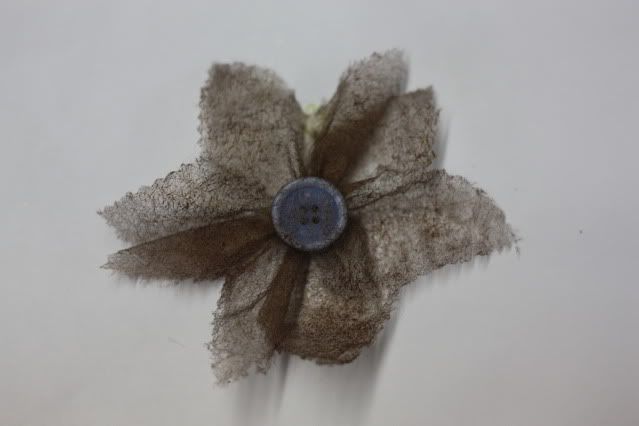
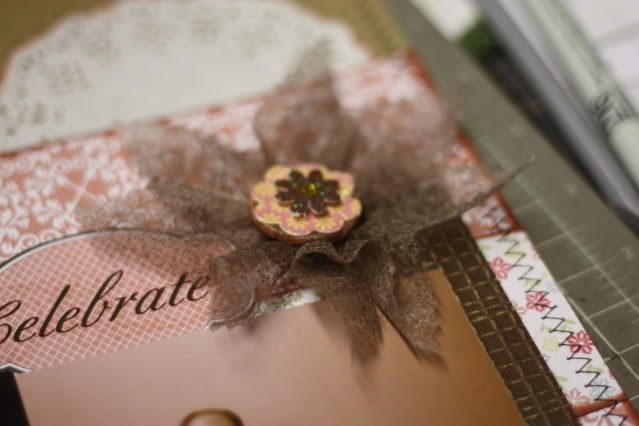
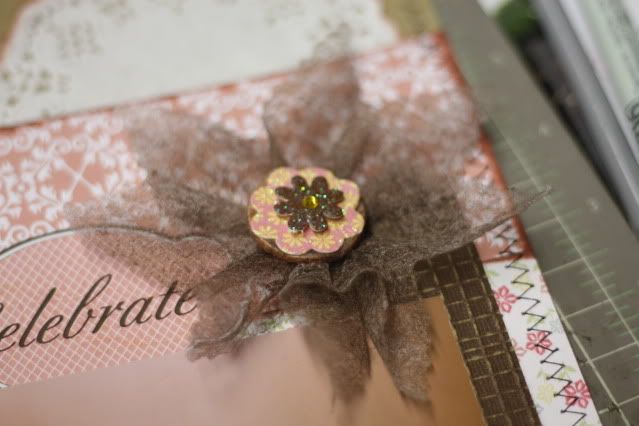
You can add whatever you want to the top to dress it up if you want. Just use craft glue or hot glue gun to make it stick!
Image

Image

Image

Image

Image

Friday, April 23, 2010

Scrap Whispers Sign Ups

It's that time again! Scrap Whispers is gearing up for a brand new round. Be sure to head over to the website to get signed up or you can simply email Georgina: gh26@sky.com. While sign ups are being done, be sure to check out our current challenge to keep you busy. Here's my layout for this week's challenge:I also used sketch #61 from The Scrappiest to get this layout done. Liz has awesome sketches and this one was perfect for these pictures I used of Amelia!

Thursday, April 8, 2010

Guest Designer for Scrapbook Sussies

I am honored to be a guest designer for April at Scrapbook Sussies! Lara is the owner of this awesome kit club that is jam-packed full of yummy goodness each month. What is so great about her kits is that she combines two paper lines almost making it two kits combined into one. You can scrap using just one "side" of the kit or combine them to create your own design. This month's kit features American Crafts' Dear Lizzy line and My Mind's Eye Quite Contrary Jack and Jill line. I was amazed at all the product, especially embellishments. Here is a peek at all the fun stuff: And here are the layouts I created.
You can check out more of the Design Team's layouts Here and you can subscribe to Scrapbook Sussies Here.